Building ownCloud apps using React.js
2016-01-10This post describes the trough steps needed to create an ownCloud app with a React.js based frontend. As an example we will be rebuilding a simplified version of the logreader app, a single page app with the entire ui (save for some small chrome that comes with oC) made in React. Since this app uses a fairly simple read-only php backend we can focus on the client side part of the app.
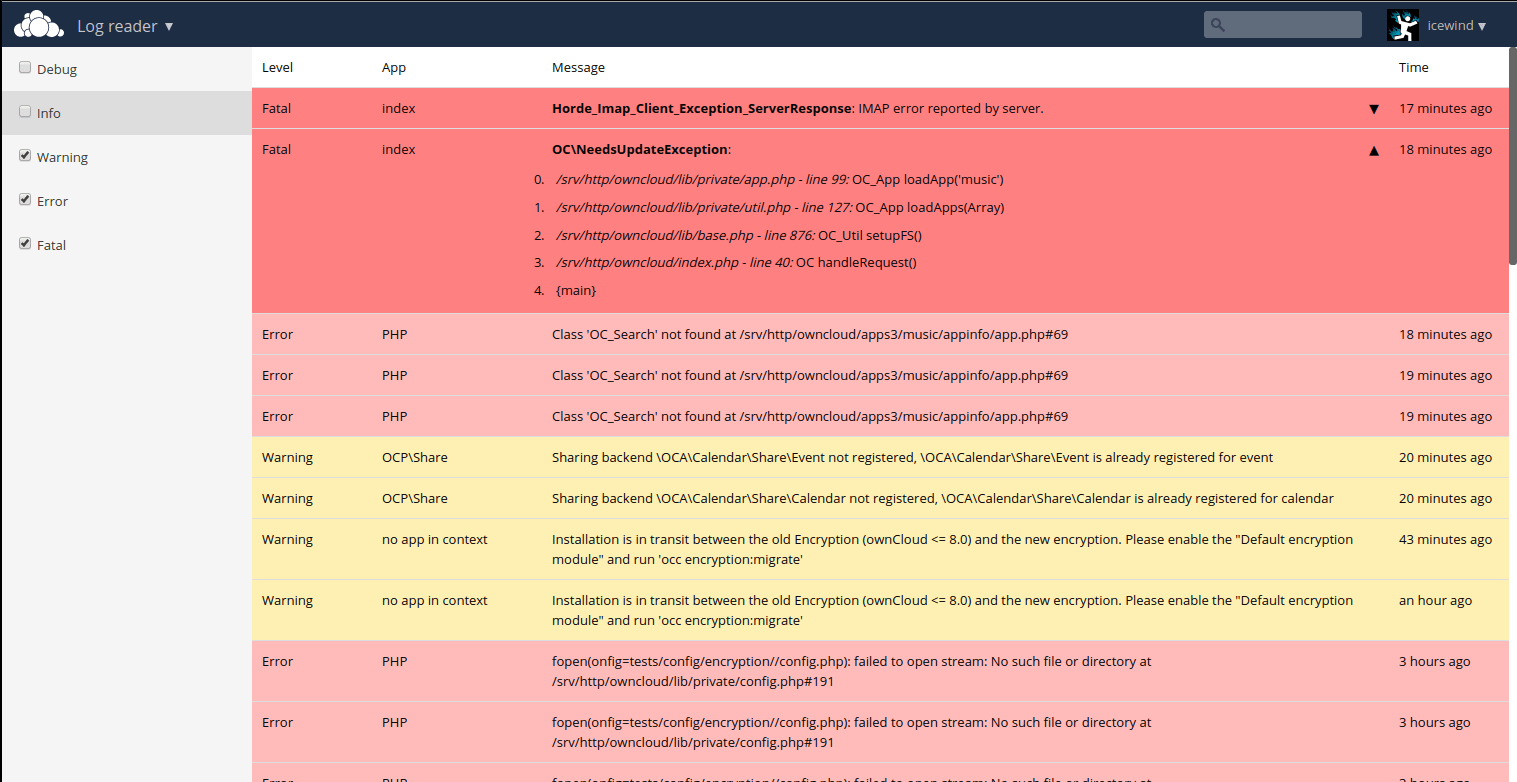
While this tutorial does not require you to be an expert in either React or ownCloud apps, some basic familiarity with both subjects is needed and some healthy google-fu for getting more then the basic information about the used technologies.
The boilerplate
All modern technologies come with some amount of boilerplate, both ownCloud apps and React what their own boilerplate needs, for ownCloud you need some basic php to register the app, add a navigation entry, display our main template, etc and for React we need a bit of code to render our react views to the DOM and unless you feel like writing pure es5 React code you'll also want some kind of build step.
When making React apps for oC there is a pre-made piece of boilerplate we can use to fulfill both needs, react_oc_boilerplate (I've always been good at naming things) This comes with the php needed to make our app work in oC, some React components for common interface elements in oC apps and a build system based on webpack and react-hotloader that allows changing the code without having to reload the browser.
The beginnings
- Download the boilerplate.
- Place the boilerplate in the apps folder and rename it to the desired appId (
logreader_examplein the example) - Run
npm installto grap all the dependencies. - Run
npm run configureto configure the app id and name (logreader_exampleandLog Examplehere) - Update
appinfo/info.xmlto set the app author, description etc. - Set the web root of the ownCloud (something like
http://localhost/owncloud) installation inwebpack/dev.config.js - Enable the app in ownCloud
- Run
npm run devto enable the webpack dev server - Open the link to the webpack dev server in the browser (something like
http://localhost:3000/owncloud - Navigate to your app and verify that the boilerplate is loaded.
At this point you should have a basic ownCloud app with some dummy data in a React gui.
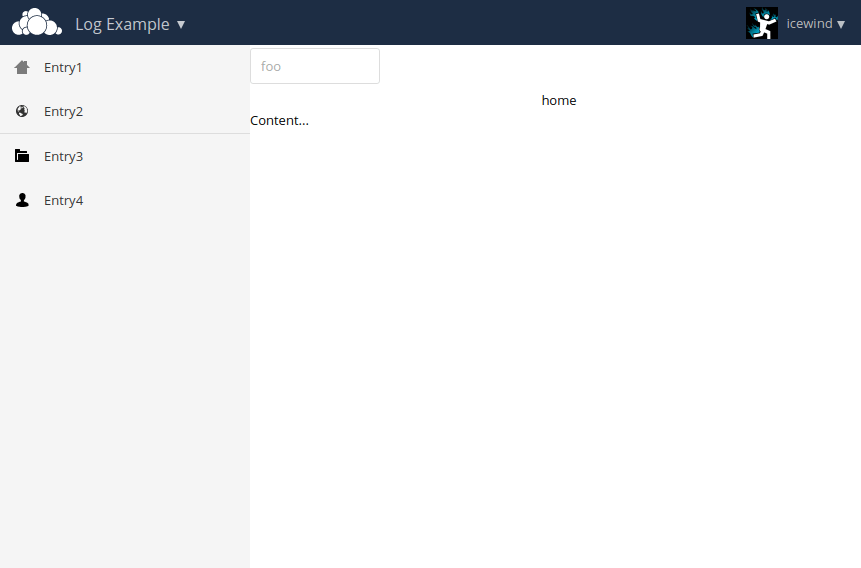
The main part of the code we're interested in is located in the js folder, App.js is the main component for our React apps and index.js sets up React to render our app once the page is loaded.
The log table
The majority of the interface of the logreader app consists of a table showing all the log entries. This table in our app is a React components, create a Components folder in the js folder and add the following code to the LogTable.js file.
;
And in App.js replace the ControlBar (we're not using that in our logreader) and the Content with the log table.
;
...
People new to React might be confused with some of the js above since it's not standard js that runs in the browser. By using babel we can make use of es6 (and es7) syntax in our source files and compile it to "standard" es5 that runs in the everyday browser.
The html-like syntax comes from jsx which makes it easier to declare the html structure of our rendering templates.
You can make perfectly fine React apps without using any of these syntactic sugars but they generally result in smaller, easier to understand code then when you're writing React apps in pure es5.
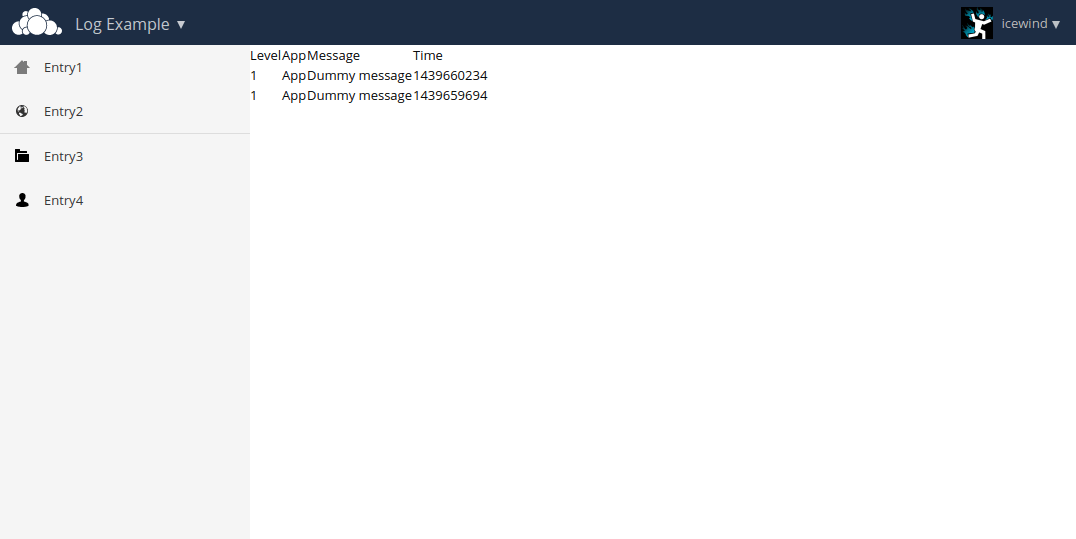
The js we added does a few things, since we don't have a backend yet we load some dummy data and pass it to the <LogTable/> which renders the log entries into an html table.
Time and log level
Besides the obvious lack of styling on this table some other things will need to be added to it, both the log level and time are displayed as raw data instead of something human-readable.
To make this human readable we'll be adding some React components that render the raw data into something nicer.
For the log level we create our own component.
LogLevel.js
;
For time there is a nice existing React component we can use: react-time which accept a js Date object and can render it in various human readable form.
Install the component using npm install --save react-time and add it to the time column of the log table and update the log table to use the new components.
LogTable.js:
...
;
;
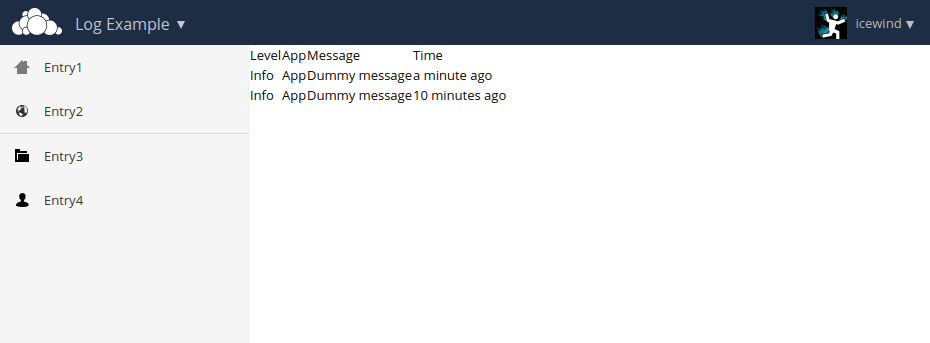
Which renders our timestamp and log level in a nice human readable relative format.
Styling
while all our data is now in a human readable format the styling makes it far from readable.
To apply a style to our components, instead of using a global stylesheet which we link from the html, we can require our style right from the javascript where we want to use our style.
Add a LogTable.less file to the Components folder:
{
:;
:;
:;
{
:;
:;
:;
:;
:;
:;
}
{
:;
}
{
:;
}
{
:;
}
/*info*/
{
:;
}
/* warning*/
{
:;
}
/*error*/
{
:;
}
/*fatal*/
{
:;
}
}
(note that while we're using less here you can also use plain css files or (with some additions to the webpack config) sass)
To use our style we import it in LogTable.js
;
And assign the classes from it to our React components
<tr className=(not in React the propery is className instead of just class)
This leaves us with a nicely styles and readable table

When using a stylesheet that we imported in our js we assign the classes based on members from our imported style instead of just writing down the class name as a string, this is because we're using css modules which allows us to write self-contained css without having to worry about things like classname conflicts, our build process takes care of re-writing the css to use unique classnames so we can use the same classname in multiple css files without having the styles conflict.
Loading the log data.
While working on the basic log table we've been using hard coded test data, for a real app we'll problem want to load some data from the ownCloud server.
I wont be discussing the server side backend code here, if you're coding along you can copy the controllers and log folders and appinfo/routes.php from logreader into your app (you'll need to adjust the namespaces in the files).
Create LogProvider.js in the js folder
This provider allows loading logs by calling the load function and the limit can be increased by setting the limit property.
To use the log provider in our app we first need to import it
App.js
;
Initialize one in our constructor, set the state from the result and use the state in our render function.
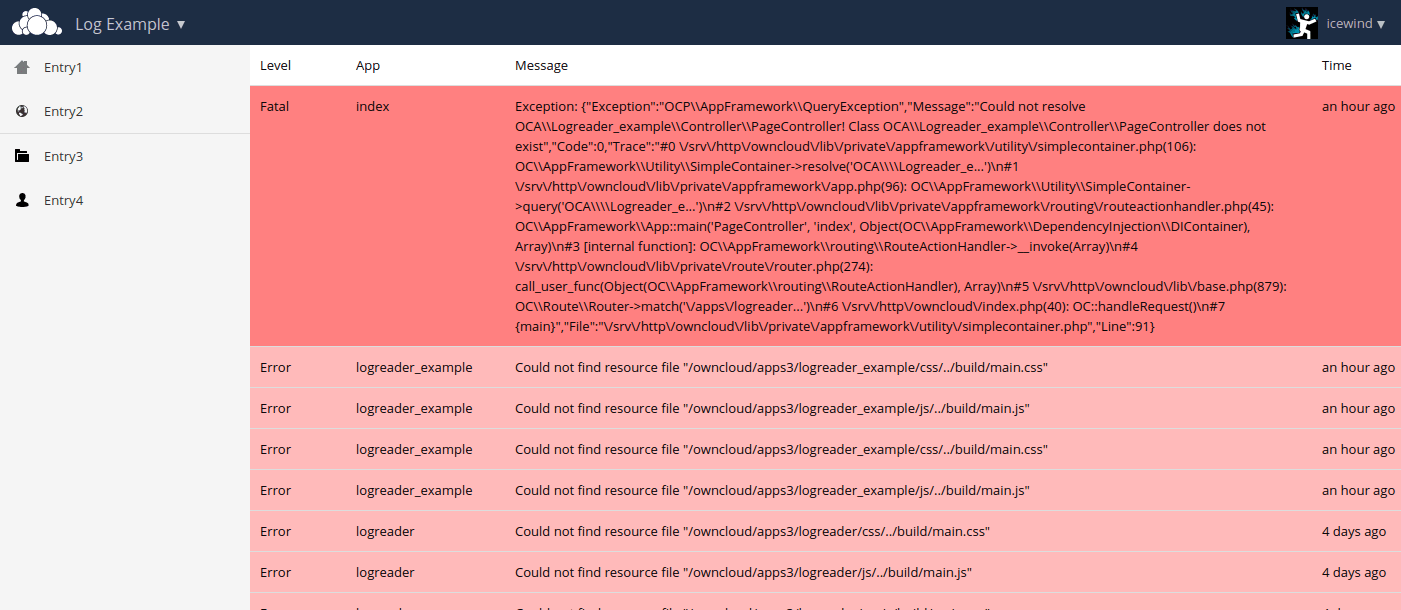
Once everything is hooked up we have a log table filled with log entries from our server.
Filtering with the sidebar
So far our sidebar has been filled with dummy entries from the boilerplate.
We want to use our sidebar to display a series of checkboxes that allow to filter the logs based on log level, to do this we first create a reusable component for creating a sidebar entry with a toggable checkbox.
ToggleEntry.js
;
;
ToggleEntry.less
{
{
:;
}
{
:;
}
{
:;
}
}
We can use this ToggleEntry component in the sidebar in place of the regular Entry elements, the component comes with an onChange hook which we can use in our app to hook into the state change of the checkbox.
To hook up the toggle into our app we first extend our state to hold 5 booleans, one for each log level, which controlls if we show the log level.
App.js
state =;
Add a hook method to our App class
level, newState
Add the filter toggles to our render method and filter the entries we render.
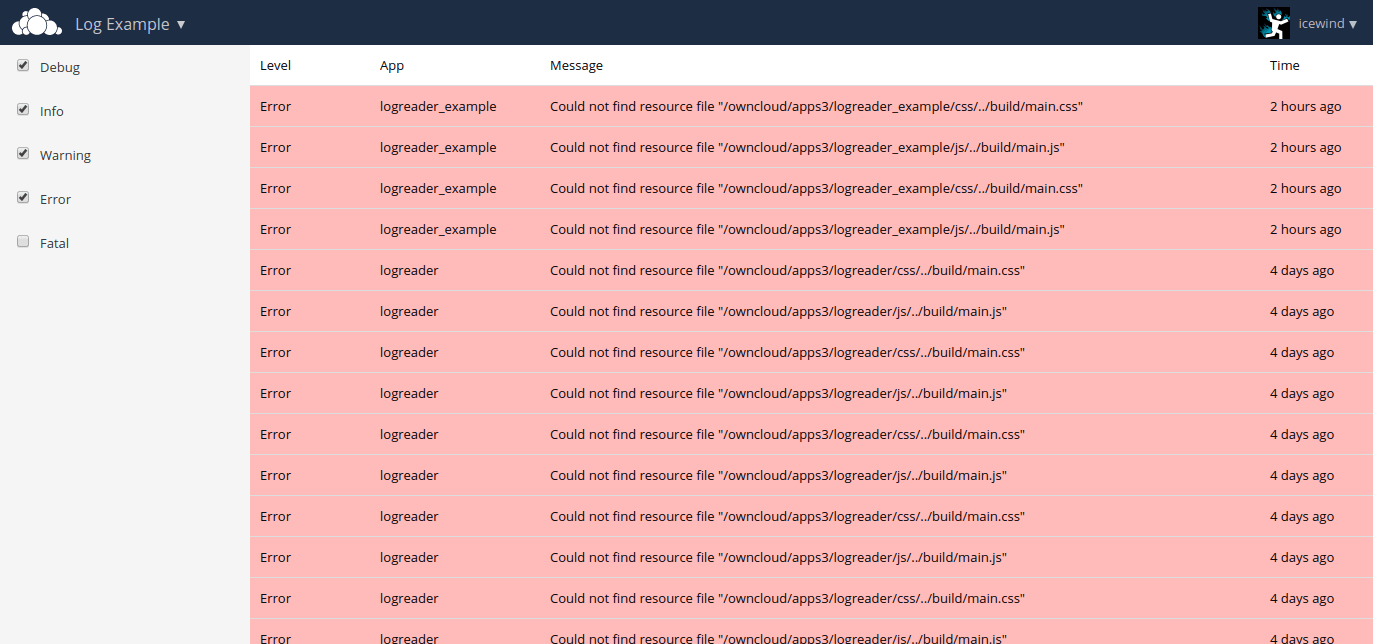
We now have 5 nice toggles in our sidebar which toggle state when clicked on and filter the entries in the log table.
Infinite scroll
While showing the last 50 log entries is nice it way more useful if we provide the user with a way to load more entries. This could be done by adding a "Load more" button somewhere but having an infinite scroll for our table is more user friendly.
There are multiple infinite scroll components available already for React, in this example we'll be going with the react-scrolla one.
Install the component
npm install --save react-scrolla
Import it into our app
;
Extends the state with a loading indicator
state =;
Add a load more function
loadMore = ;
And replace the <Content/> element in our app with the ReactScrolla component referencing our load more callback and loading state.
(The reason we replace the Content element instead off adding ReactScrolla as a child is to ensure that the ReactScrolla is the element which ends up with our scrollbar)
ReactScrolla will automatically call our loadMore callback once the user has scrolled past a certain point, once the loading is done we update the state with the newly loaded entries and let React render the new rows to our table.
Further improvements
There are plenty of things that can still be done to improve on the log reader we currently have, we can improve the way we display the log messages (especially exception messages which are a fairly unreadable blob of json at the moment), add a search option to filter logs or maybe add automatic loading of newly created log entries.
For an example of how to implement some of those features you can have a look at the original logreader which our example was based on.
Build the production code
So far we've been loading our code from the webpack dev server (http://localhost:3000/...), which is nice since we dont need to reload our browser in most cases to see the result of our changes but we can expect all our users to setup the full dev enviroment to use our app. If you were to try to load the app trough the normal ownCloud url you would see that it fails to load since we haven't compiled our production code yet which it's trying to load.
To create a production build you can simply run
npm run build
Which will generate a js and css (and sourcemaps) and place them in the build directory.
Now the production files are build we can load our app normaly to ownCloud.
(If we were to publish our app to the appstore we would include the build directory in our package while leaving out the node_modules folder)